Shape Clay With Steadier Hands
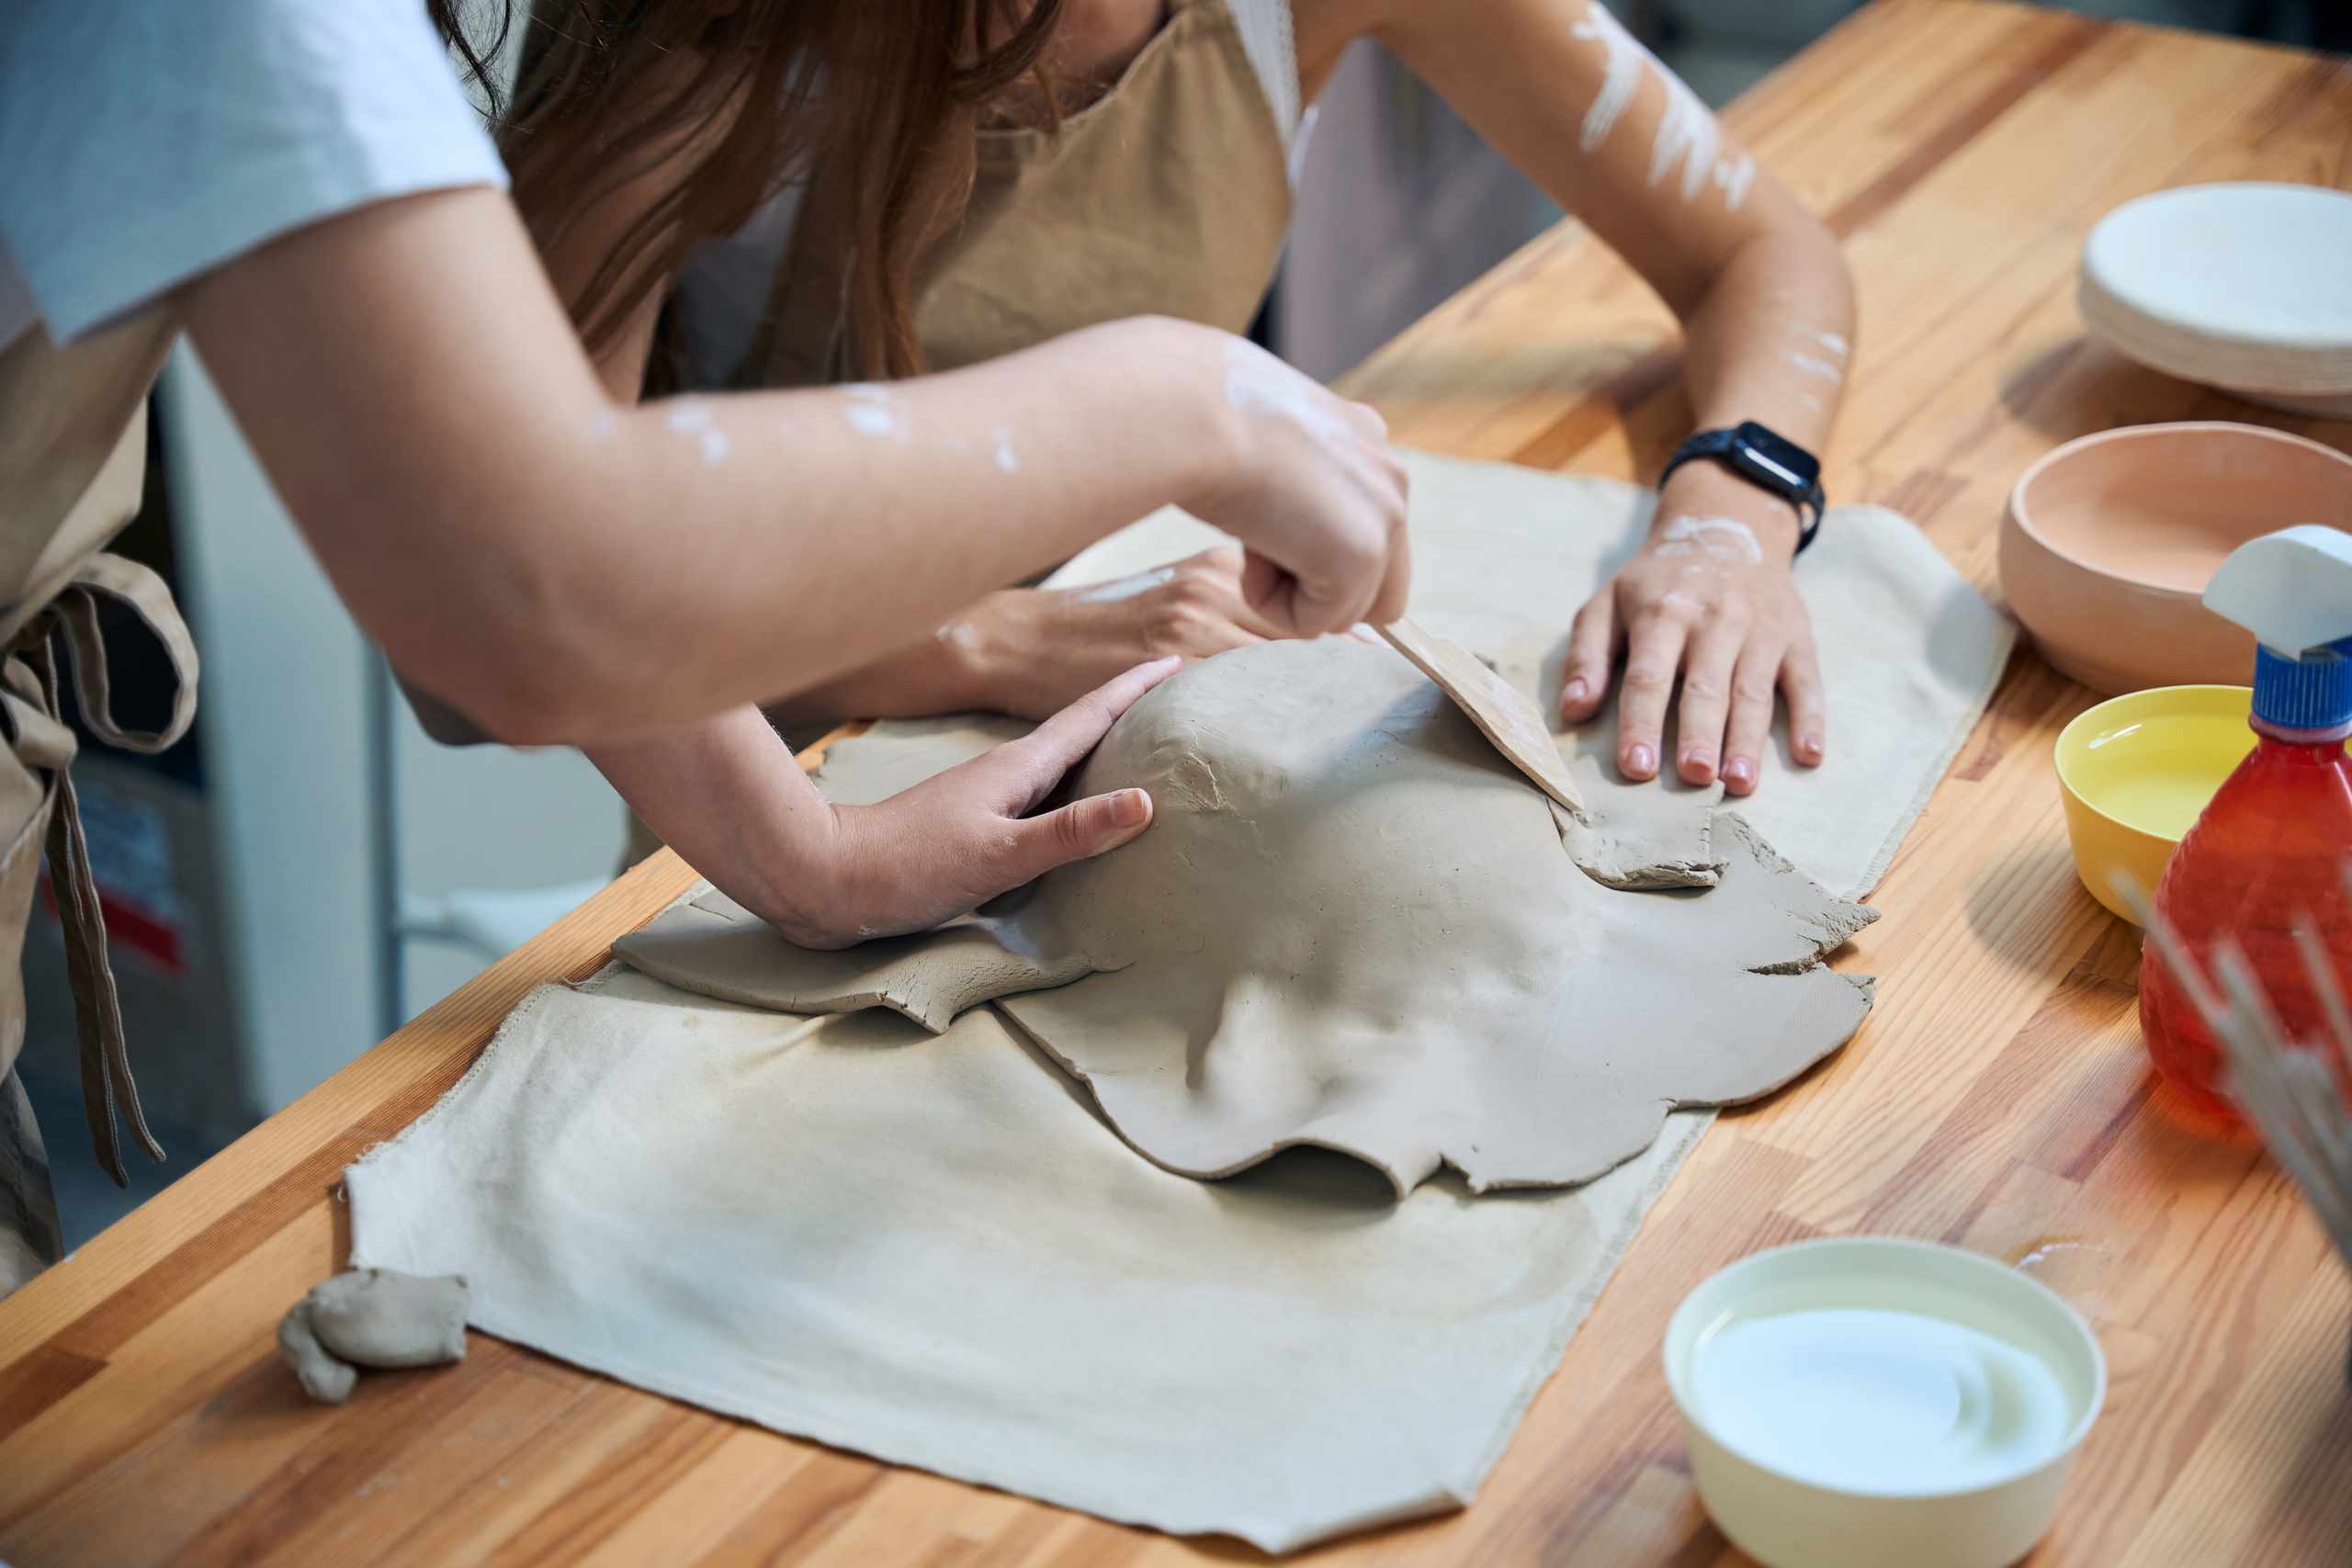
ClayShapeArt introduces hand-building through small, careful pieces. Practice pinching, rolling coils, joining seams, smoothing surfaces, and noticing when soft clay needs lighter pressure or more time to firm up.
Small Skills Behind Better Forms
Practice the clay basics that make shaping calmer, cleaner, and easier to repeat.
Pinch And Pressure
Use small pinch forms to feel how pressure changes wall thickness, rims, curves, and the balance of a clay piece.
Coils And Slabs
Roll coils, flatten slabs, and compare edges so early hand-building projects do not become lumpy, weak, or uneven.
Seams And Surfaces
Practice scoring, slip, blending, and smoothing so joined parts hold better and surface marks are easier to control.
How Clay Practice Builds
Prepare The Clay
Begin with a small amount and notice moisture and softness before shaping.
Shape A Simple Form
Practice a pinch bowl, coil, slab tile, or small sculpture before moving into added details.
Check Joins And Walls
Look for thin spots, air pockets, cracks, and places where the form starts to sag.
Smooth And Review
Finish edges, soften tool marks, and choose one detail to improve in the next clay piece.
What Learners Notice
“The early pinch pot practice made wall thickness easier to understand. I stopped pressing so hard and could see why my rims were uneven before.”

“Scoring and slip finally made sense when I tested small joins first. My clay pieces still feel simple, but the seams are much cleaner now.”

“I liked learning when to pause and let soft clay firm up. It helped me stop damaging the shape while trying to add details too soon.”

Pinch Forms
Coil Practice
Slab Basics
Surface Checks
Ready To Shape Your First Piece?
Ask about clay type, simple tools, practice pace, or where to begin if soft clay, uneven walls, or cracking already feel confusing.