About ClayShapeArt Practice
ClayShapeArt is built around slow, hands-on clay practice for new learners. The focus is on small forms, steady pressure, cleaner joins, and noticing how clay changes from soft to firm while you shape it.
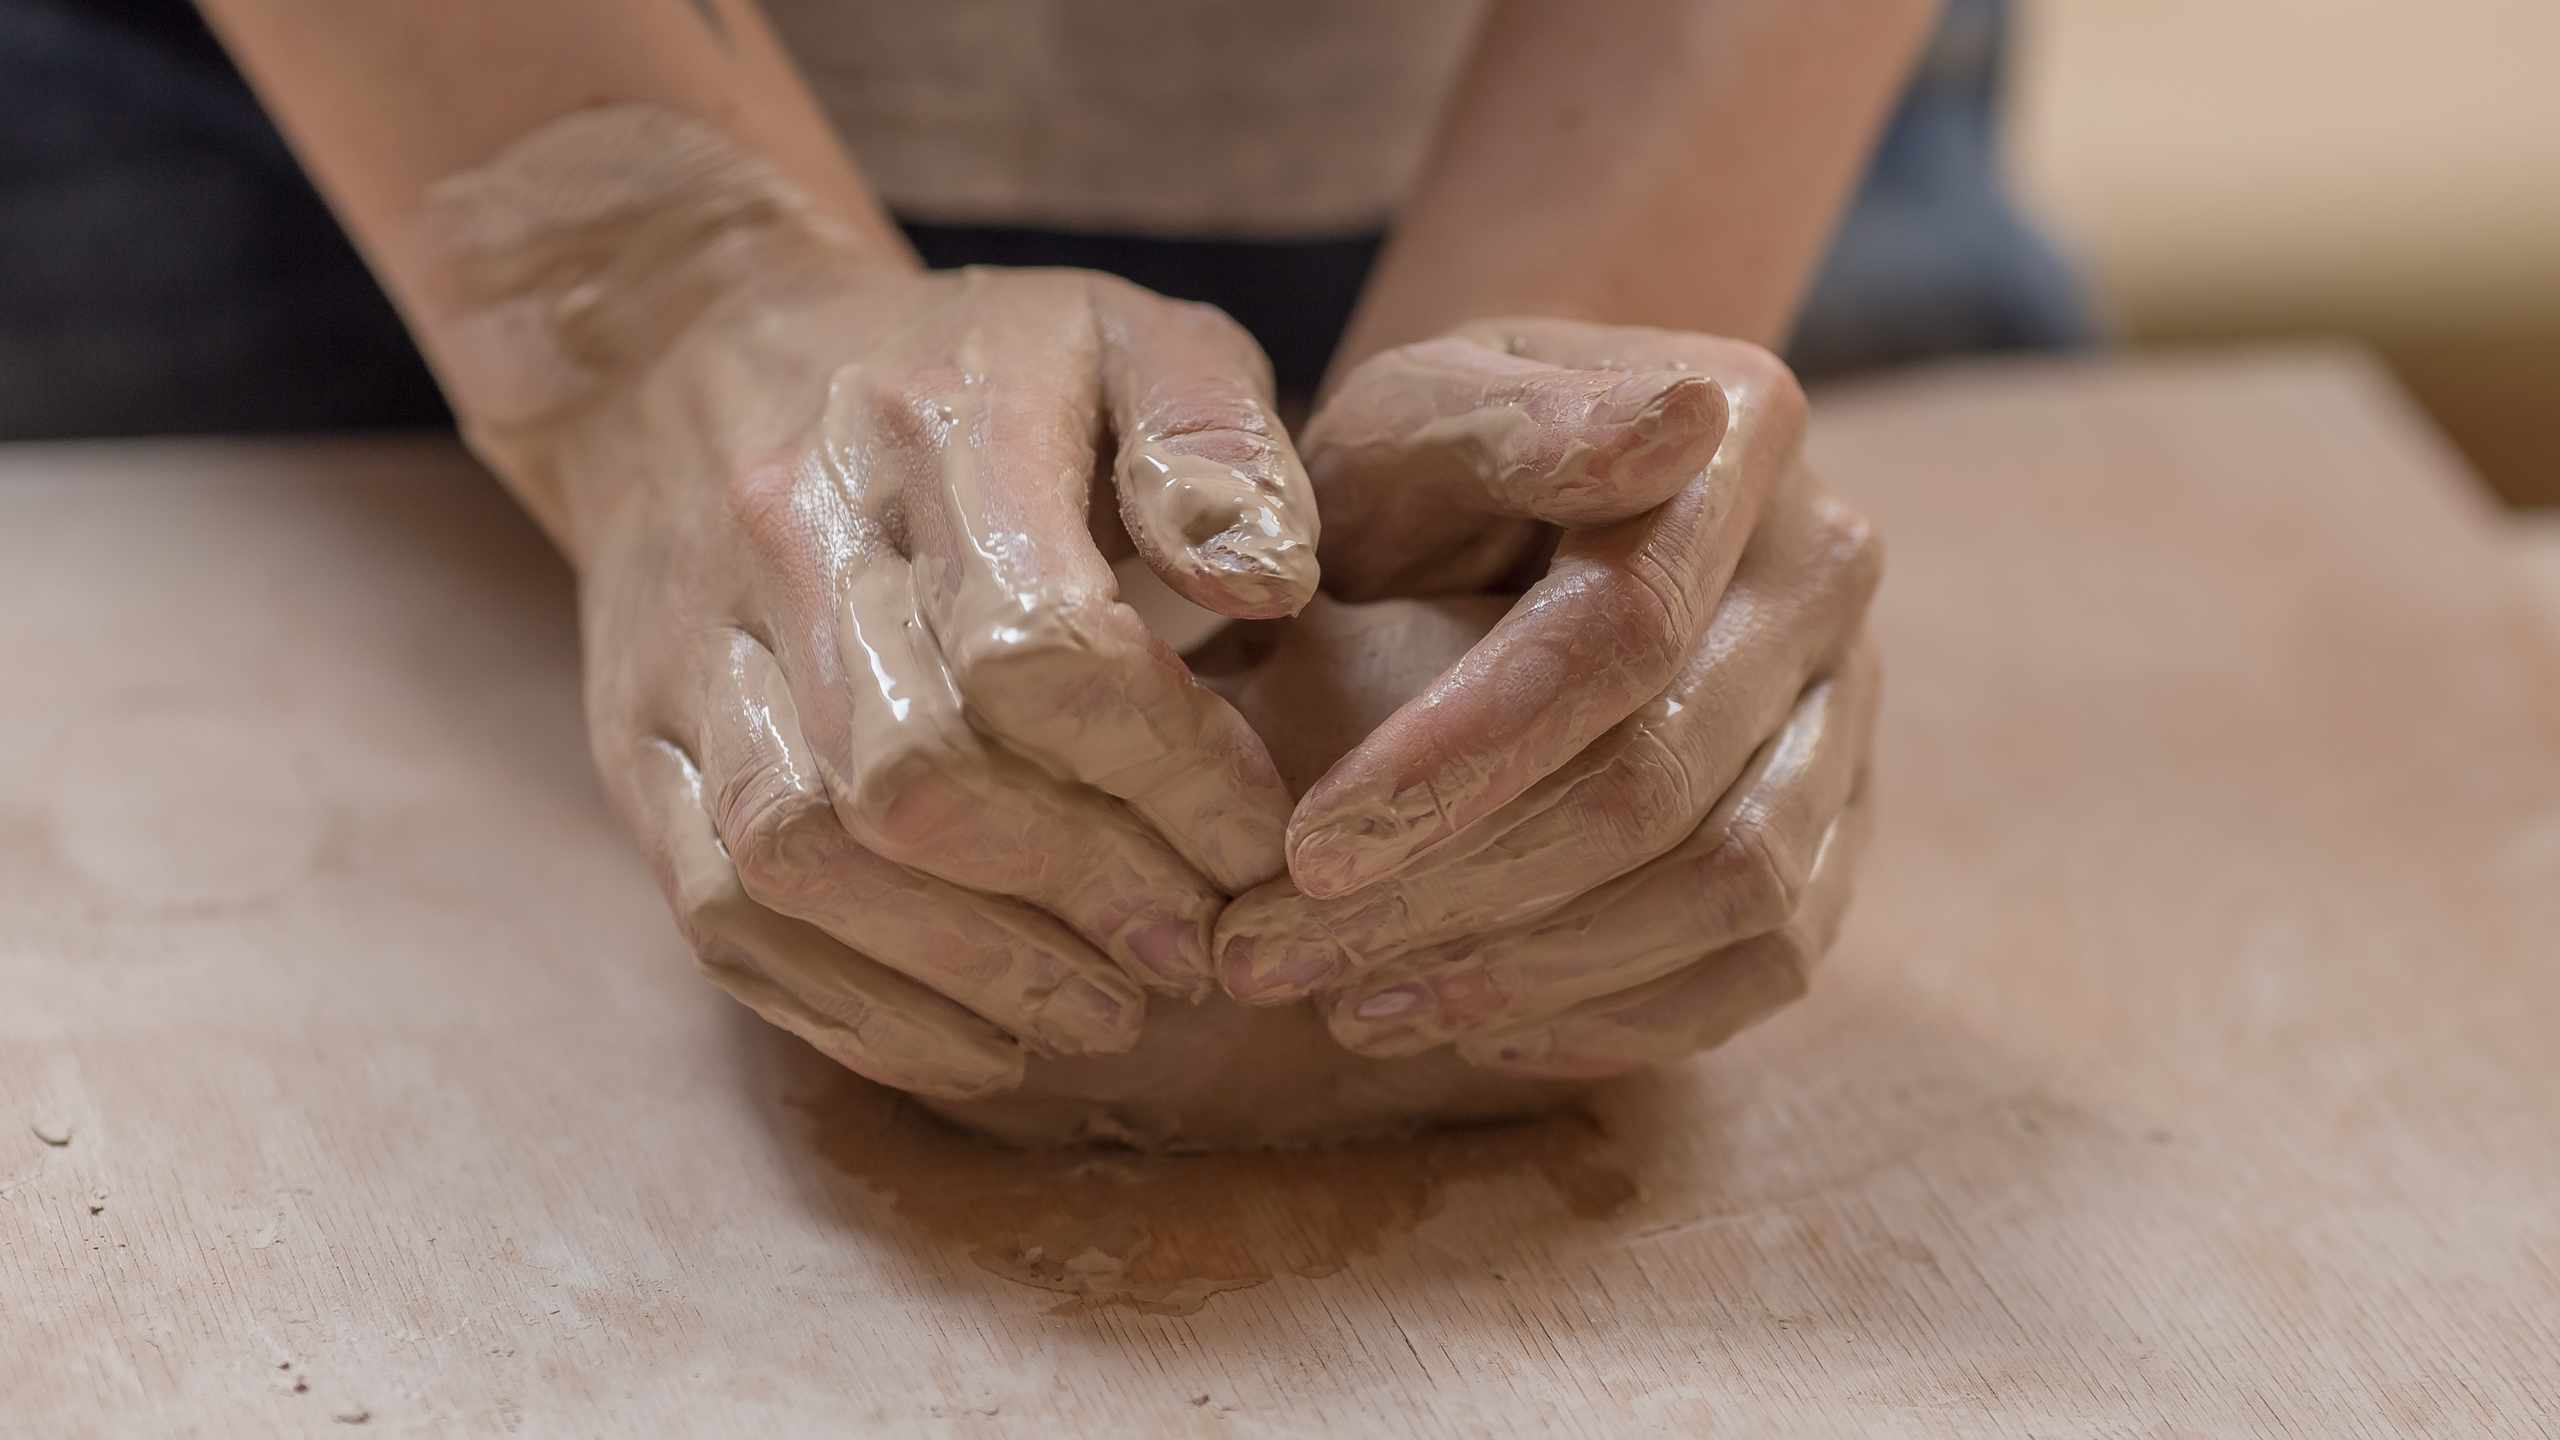
Clay Skills Built In Small Steps
The course approach avoids rushing into complex sculpture before the basic actions feel manageable. Learners work with pinch forms, coils, slabs, seams, surfaces, and simple decorative details so each practice piece teaches one visible part of clay control.
Practice is guided by what the clay is showing: a wall that feels too thin, a rim that leans, a seam that opens, or a surface that becomes sticky from too much water. These small problems become clear signals for adjusting pressure, timing, and tool use.
The Learning Approach
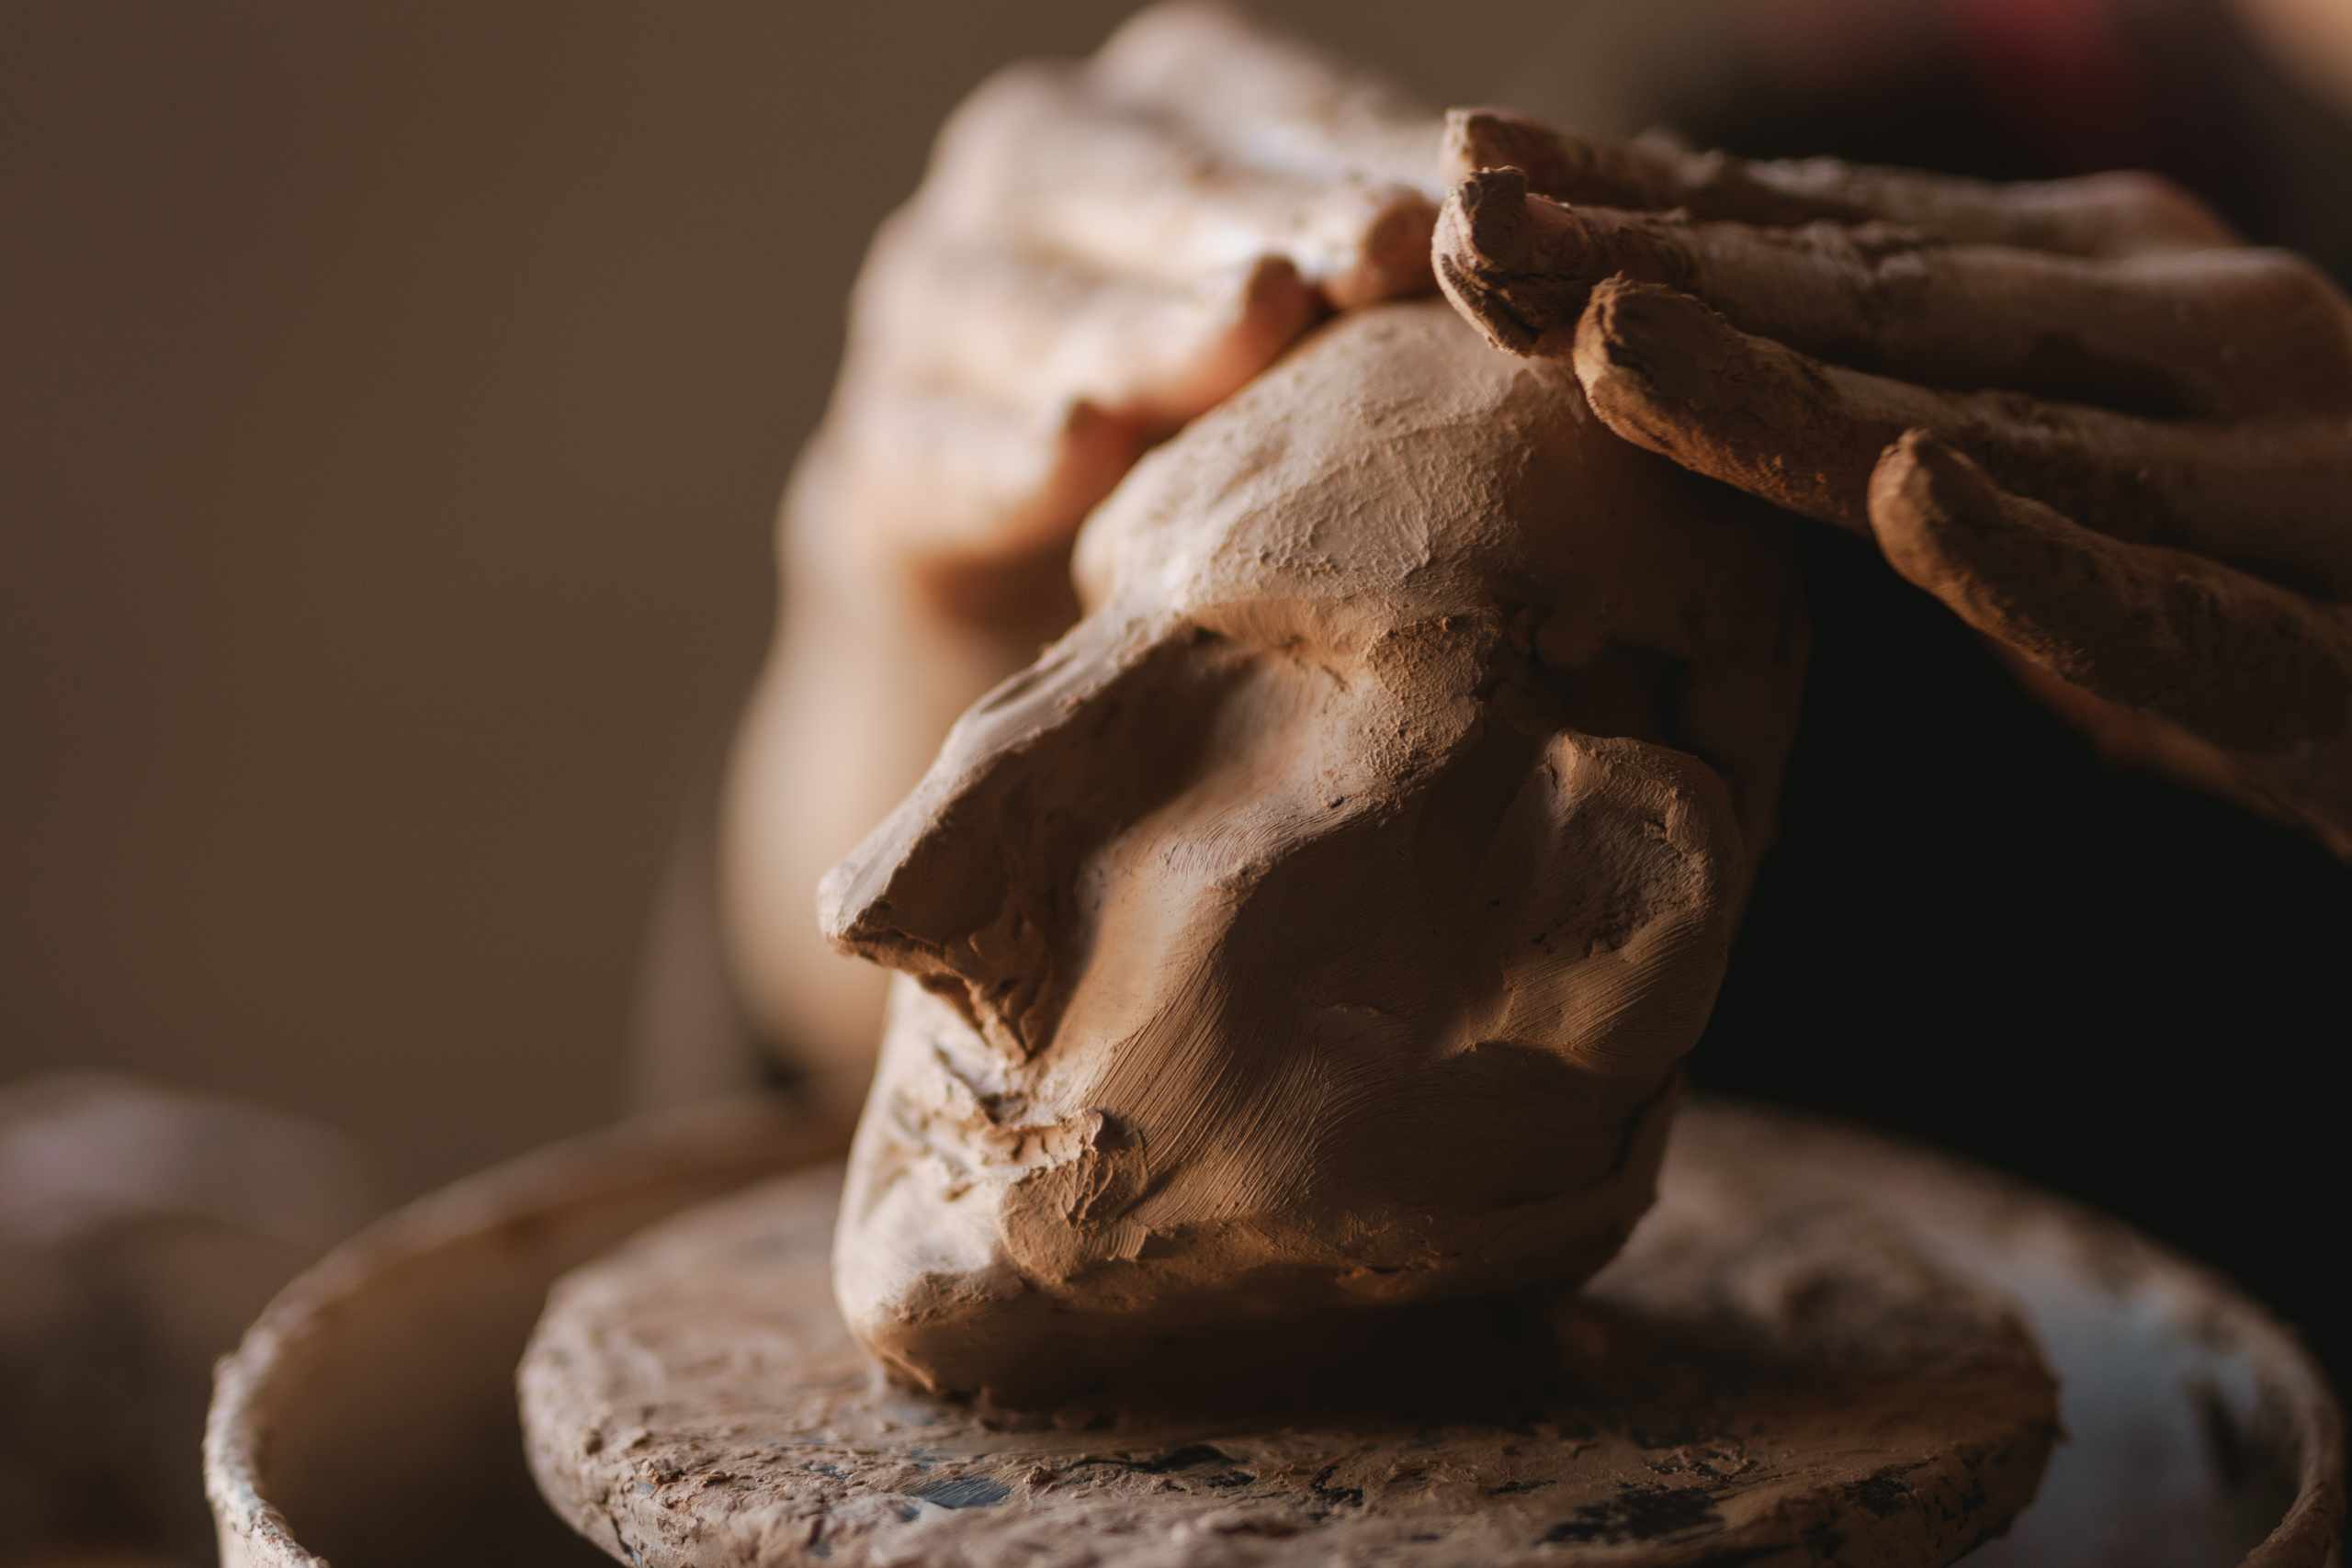
Prepare Before Shaping
Learners begin by checking the clay, setting up a small working area, and choosing a form that can be shaped without rushing.
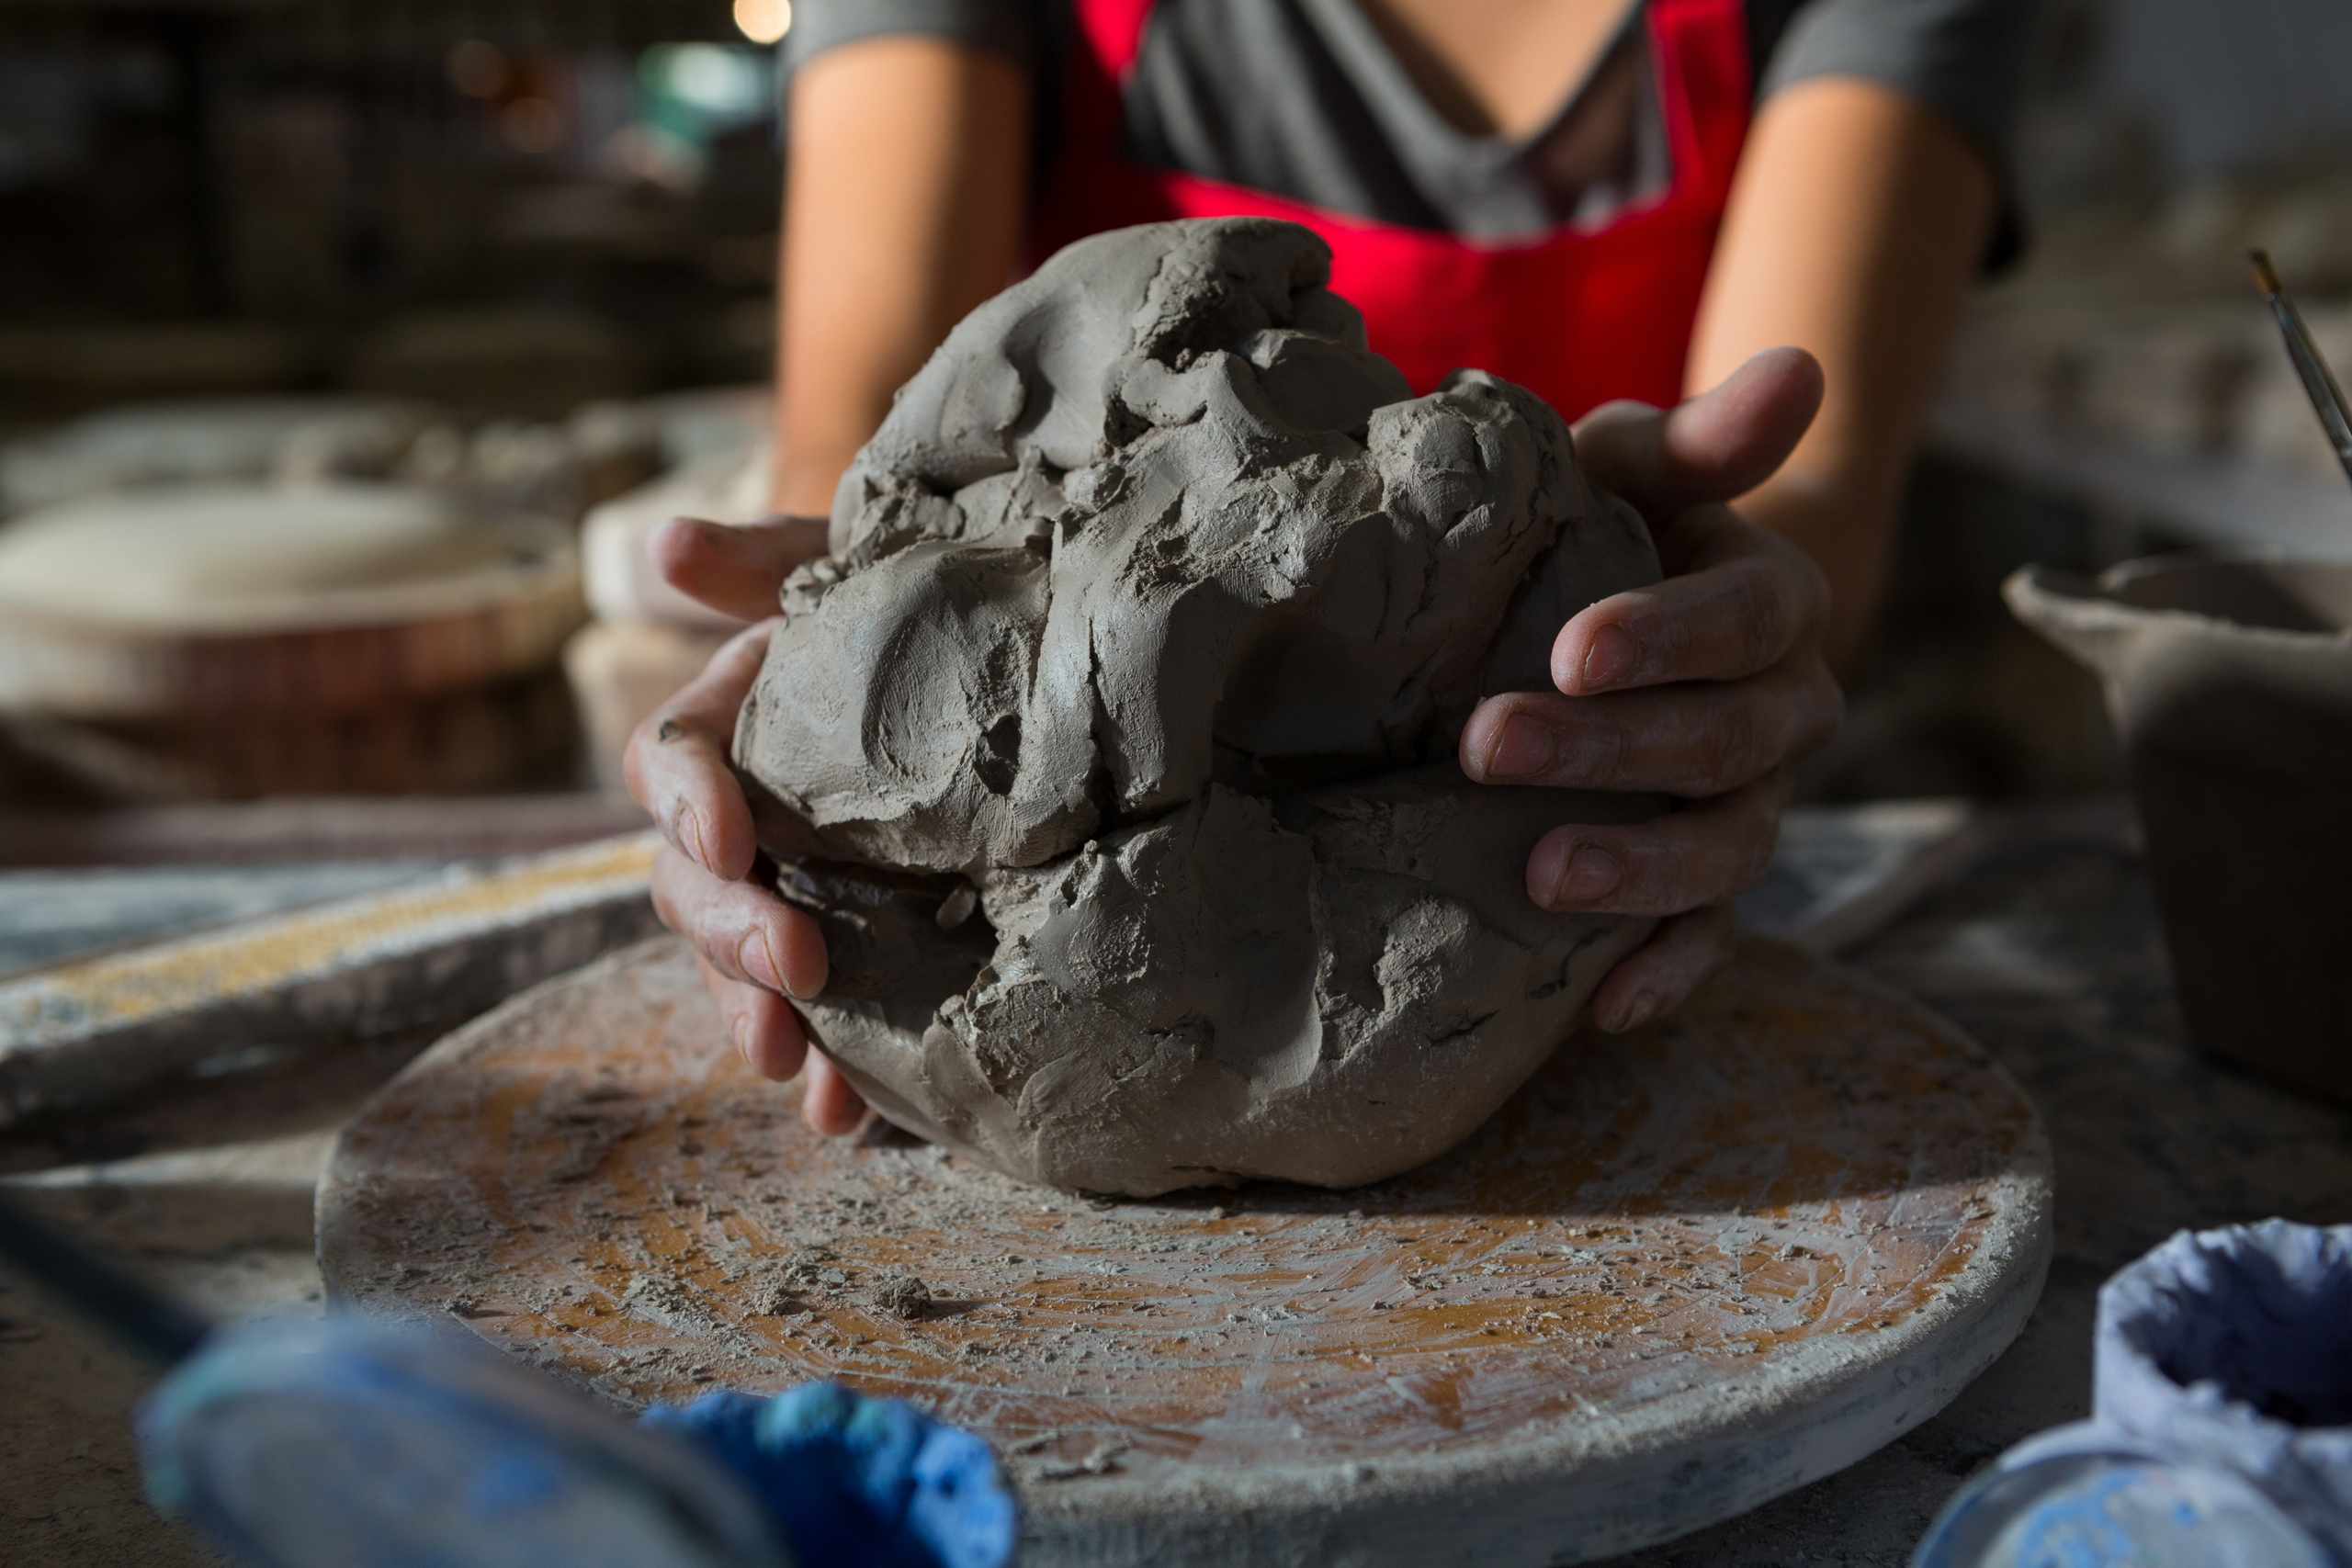
Practice One Control
Each exercise gives attention to one action, such as rolling an even coil, pinching a wall, or blending a seam.
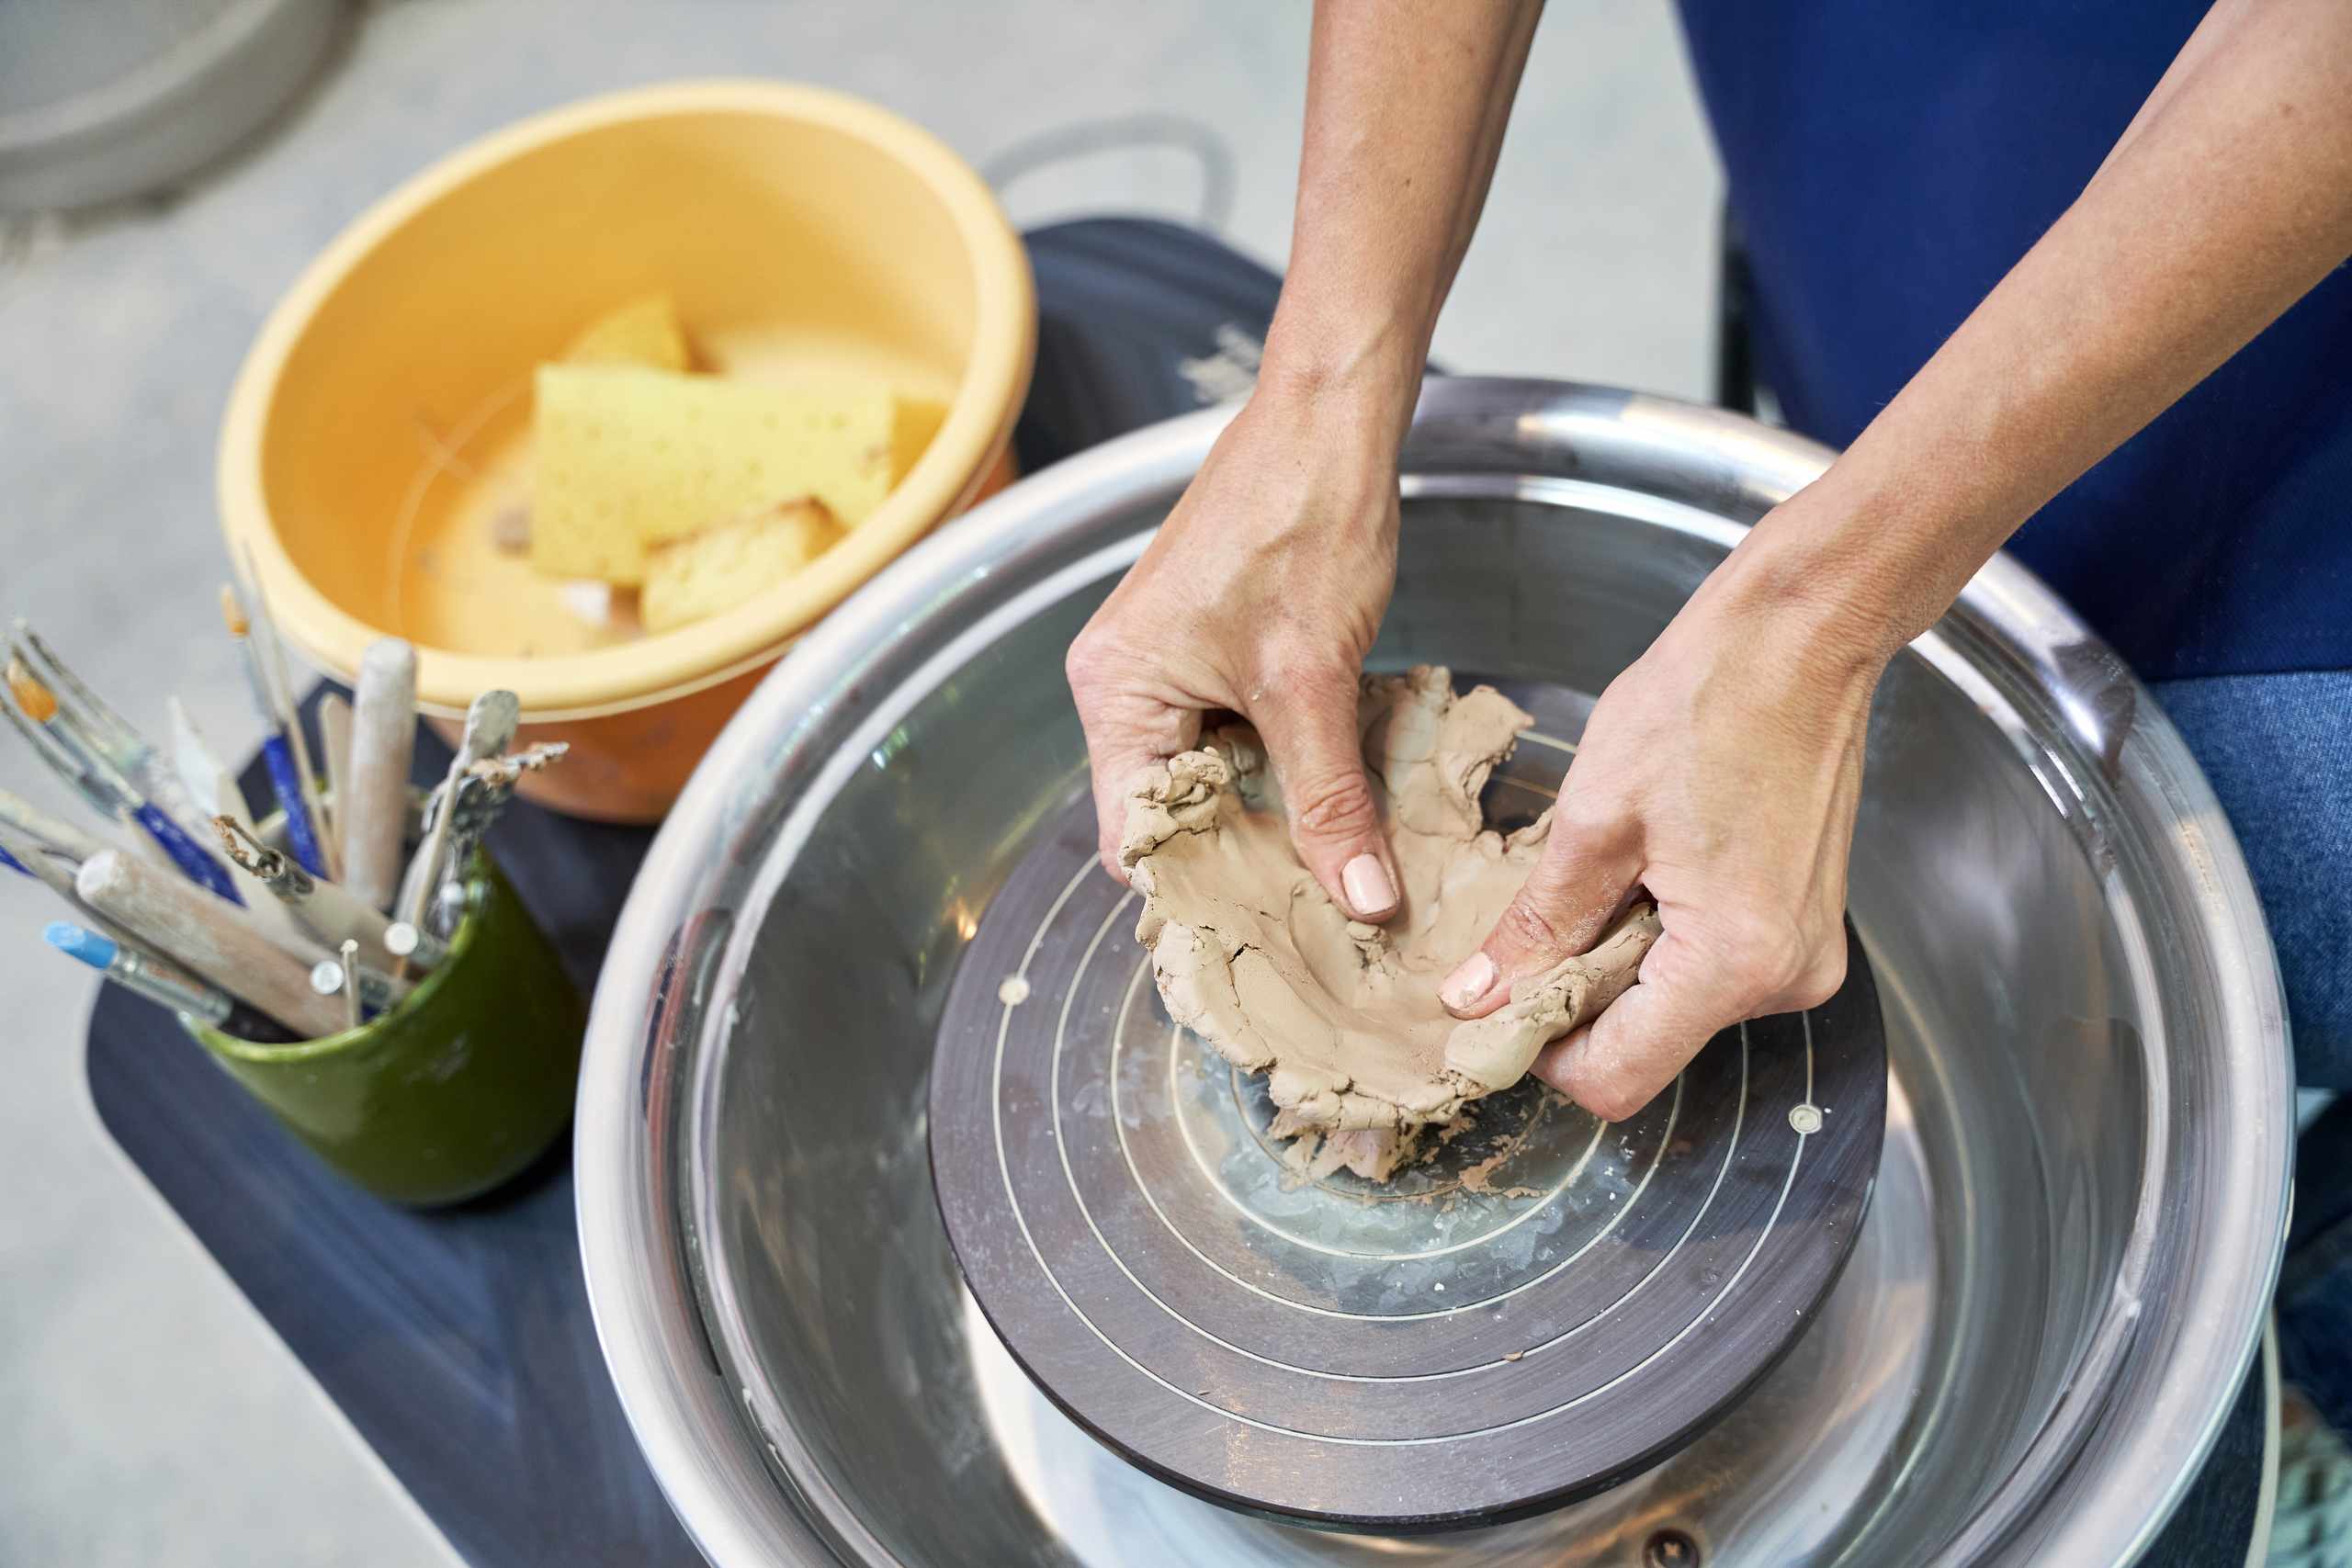
Pause When Clay Changes
The method encourages pausing when clay becomes too soft, sticky, thin, or heavy for the next detail.
What Guides The Course
Pressure Before Detail
Small pressure changes affect the whole piece, so learners practice touch and wall thickness before carving or decoration.
Mistakes As Signals
Cracks, sagging rims, weak joins, and uneven bases are treated as useful signs that show what to adjust next.
Tools With Purpose
A sponge, rib tool, needle tool, or wooden tool is introduced through practical use, not as a confusing tool list.
Review Before Repeating
Each finished practice piece can be checked for one shape issue, one surface issue, and one detail to repeat better.
Ready To Ask About Clay Practice?
Ask about clay type, basic tools, first exercises, or how to begin if uneven walls, weak seams, or soft clay feel difficult to manage.
Message Us