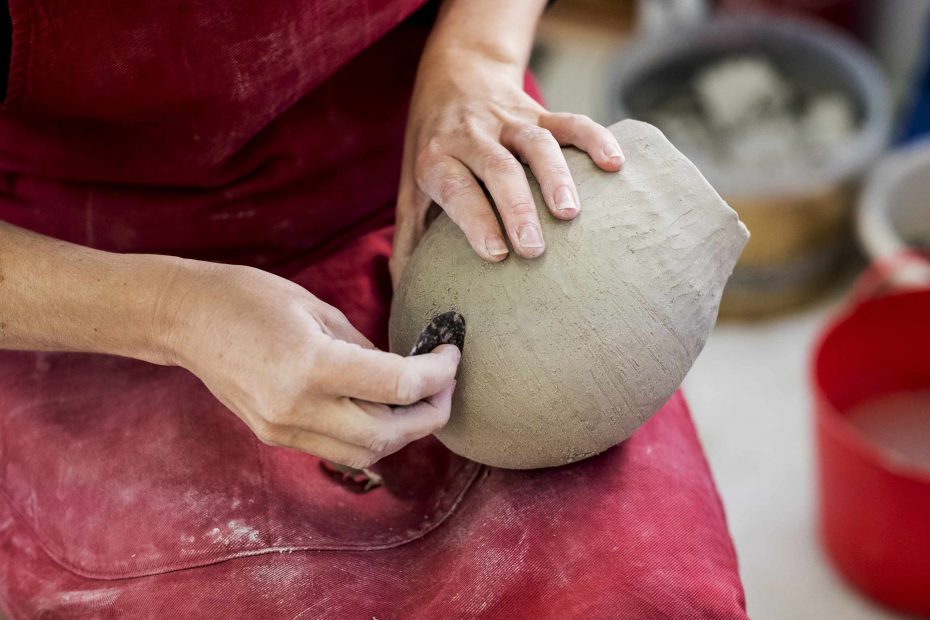
A pinch pot may appear easy because it is small. And in fact, an unfinished pinch pot tells you almost everything about your early clay habits. You can see where your hand was stronger from the walls and where your hand rushed from the rim and you can see whether you supported the pot while opening it from the base. Because of this, a simple pinch pot is very helpful. It is much more useful than a more complicated project and does not require coils, slabs, carving or decoration to teach you much.
You begin with a ball of clay in one size, small enough to hold. Put this on a clay mat or clay board. Push one thumb into one side of the pot without reaching the bottom. The clay should be thick enough for a stable base to remain at the bottom of the pot. If you go to the bottom too quickly, you could have a thinner bottom than a thicker side and if you do not go down enough you can make a thick pot that is difficult to open.
Turn your pot slowly between pinching. Pinch in one hand and turn a little bit before pinching again in the other hand. Keep the pinch even and not too hard as to crush the wall and pinch the wall out and up. Do not force a specific area into the same thickness if another area is thinner. It is better to leave that area a bit longer and work around the thicker areas.
A lot of early pinch pots have uneven rims due to the attention the clay rim gets before it is ready for it. It can be easy to fix each bump at the rim but this can end up with the rim being too thin to pinch. Work from the bottom of the wall up and work on the rim the last. As you open the wall of a pinch pot it should be pinched from the outside with the fingers to support and the thumb should pinch from the inside as shown here. When pinching from both sides be careful not to crush the wall.
Another way to check the pinch pot is to set it aside for a few moments without touching it and view it before touching it from the top, from the side, and by touch of the thickness. This brief check should tell you more than another minute of pinching and give the clay more time to rest a bit.
Do not use more smoothing than you must. You can soften the surface a bit by using a small, damp sponge and you can tidy the base or rim edge with a small piece of wood or plastic, though too much moisture can cause the surface to become too smooth, weak, or muddy. If you want to remove fingerprint marks from the pinch pot, you could choose to do so in only one area of the pot as some early hand building marks are part of the practice of learning to make pottery.
Once you have finished, make one observation of the shape and then do not judge the whole piece in one assessment. Is the base too thick? Does the wall lean or has it one thin part of the rim? Your next pinch pot will be more even if it has a single purpose and you can use a small form in this way again for one small pinch of change in one aspect of the clay, which should make it more even and not from correcting all aspects of the clay.