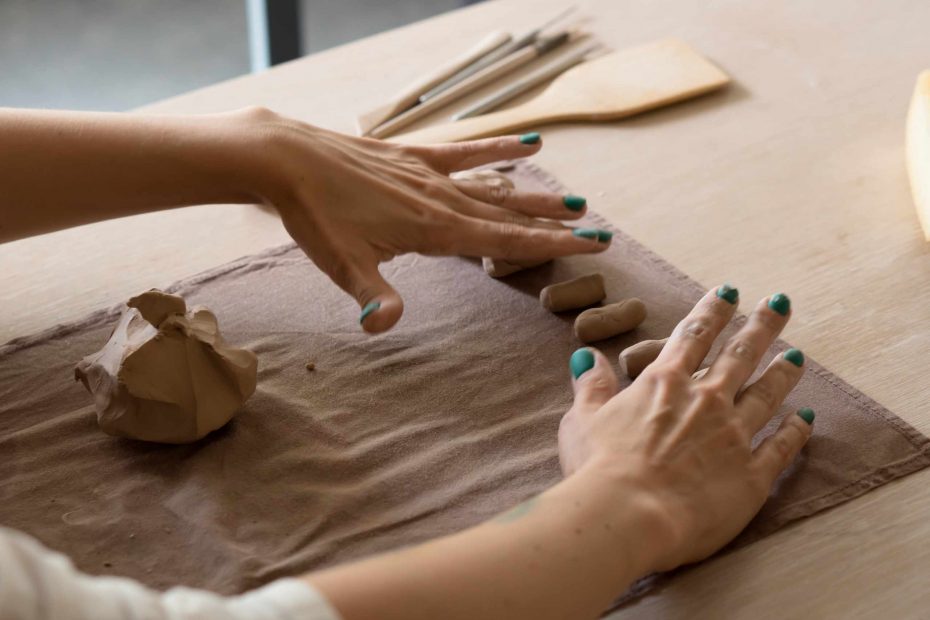
Understanding wall thickness, especially in beginner clay pieces, is vital for the overall strength and aesthetic of your work. The outside of your clay may look okay, but there is still the issue of the wall thickness to consider. One side of the piece may be thick, the other may be thin and weak, and the rim may have little bumps where the pressure changed while working on the clay. Wall thickness is more than just a technical point for a potter to be neat with. It has an impact on the stability of the shape, the strength of the edge, the strength of a join, and the ease of smoothing the surface.
In hand-building, thickness differences often occur early on and are not noticed by the learner until later. While constructing a pinch pot, it is common for one thumb to be pushed deeper than the other fingers can maintain the wall. When rolling a coil, the middle of a coil gets thinner due to the hands remaining over a specific spot for too long. The edge of a slab gets thinner than the center while shaping and building up a piece. These little differences can result in the simple form of a piece becoming unstable, cracking, or being difficult to finish.
This could start with something simple. Try working on a small piece of clay and building a shallow pinch bowl, without trying to make it anything other than a pinch pot. After a few pinches, turn your piece and rub your fingers across the wall. Do not push your fingers hard into the clay. Simply feel the thickness as you move towards the edge from the base. Do not try to create the perfect piece here, but try to find where your hands may have placed too much pressure or too little.
Don’t ignore the base of the form while you thin your walls, either! Beginners often build up the base too thickly for small pieces, which can make it unbalanced and heavy-looking. A thick base can also hide the presence of air, or trapped air pockets, from folded or pressed clay. If you have made the base too thin, however, the clay can bend or warp as you build up the walls. A more stable form usually comes from a gradual progression: a well-supported base that tapers towards the rim, walls that build upwards, and a rim that doesn’t become pinched too thin.
You can create trouble for yourself when joining two pieces of clay that have different thicknesses. When joining a thin coil to a thicker slab, the thicker end can be difficult to blend as the thin end stretches, and if the pieces are very different in thickness, you can tear them. Scoring and using slip to bond the pieces together can help join pieces of varying thicknesses, but it cannot fix the problem if the difference is too great. You should check and compare the amount of clay at the joining of your pieces before scoring and slipping to see if the weight difference needs to be changed before the slip has set.
Smoothing a piece can also worsen thickness issues. You may have noticed a mark on the wall of the piece which you would like to remove by smoothing over it. If the walls are too thin to start, you may only weaken them further by rubbing too hard. Check the thickness first, and then decide if the marks on the piece can be smoothed away, or pressed more into the surface to strengthen it, or if you can wait for the clay to become a firmer leathery state and leave the mark for now. Some tool marks can be removed better when the clay becomes more solid.
Improvement does not look like an evenness in the wall thickness. It is seen in knowing that you understand where the piece will need support before it starts to break, or collapse. If you check your wall thickness when you turn the piece over, or compare the base thickness with the rim thickness, or simply notice how much the clay is changing as you pinch the walls, the piece will start to be easier to work with, and the wall thickness will become another check you need to make at every step, rather than something you notice at the end of your work.