You can have two pieces of clay touching, but they may not be joined yet. A handle may momentarily seem attached, a coil may sit perfectly on a slab, or a tiny embellishment may stay in place. Later, a seam may separate again because the surfaces just touched. Scoring and slip improve that temporary attachment.
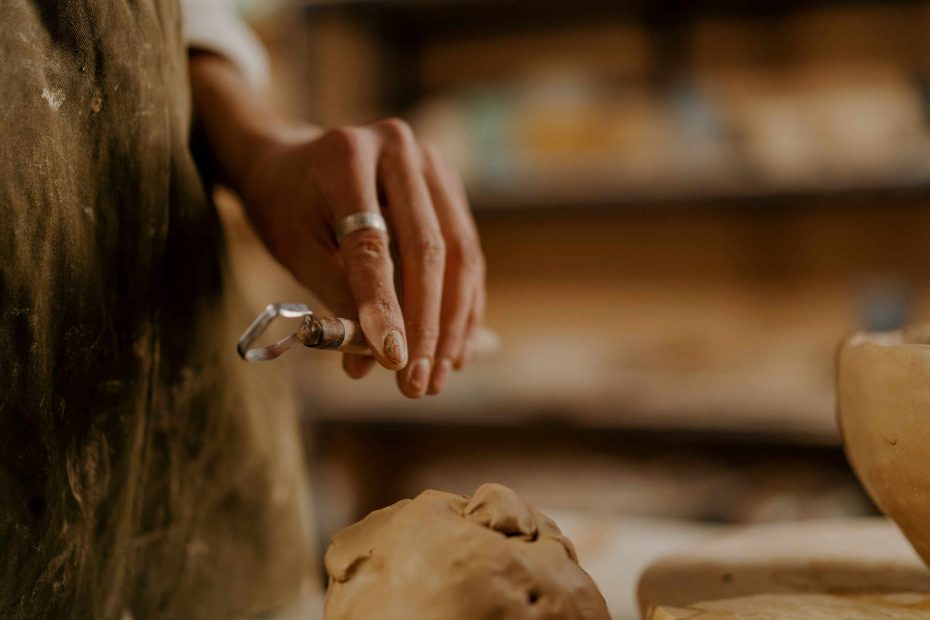
Scoring means scratching or roughening the areas that will meet. Instead of one smooth clay surface on top of another, you are making a surface texture that the clay can catch on. Use a needle tool, a wooden tool, or even the edge of a modeling tool. The scratches do not need to be deep gouges; just strong enough to break the smooth surfaces but not so rough that they tear the clay.
Slip is wet clay to use as a joining paste. It gets into the scratches so that when the two pieces are pressed and blended on the seam, the slip makes it easy for the pieces to connect together. Using water on its own is not slip; adding water can make the area slippery but will not add enough clay body for a good join. Slip can be painted on with a small brush or put on with a fingertip, which is useful to keep it on coils, small feet, handles, and embellishments.
Practice on small pieces before you join something important. Make a few small coils and let them dry until they are no longer sticky, but still soft. Score the end of each coil, paint on a little slip, and join the ends, then blend the seam with your finger or a wooden tool. As a control, join the ends of another set of coils using just water. When the joins have set, take a careful look and compare them to see how the join with slip looks more integrated and well blended. The texture, moisture, and blending will have contributed.
Blending makes the scoring and slip work. If the clay is simply joined without being blended, the seam may remain visible and weak. Support the joined clay with one hand and blend the other with a finger, smoothing clay from both the attached piece and the base piece, across the seam, so that the seam becomes part of the piece rather than sitting on top. Joining clay is gentle enough when the clay is soft so that you do not accidentally rub the adjacent wall, rim, or base out of shape.
The state of the clay also affects the join. If the surfaces of two pieces have not been dried to match, such as one soft and one fairly firm, the soft surface can smear while the firm piece does not blend well. If two pieces are too wet, the area may droop. When beginning with hand building, pieces should be joined when they have similar wetness and are firm enough not to deform easily, but also soft enough to be joined.
Examine the surface of the clay to see where the pieces will join before you do so. Is the surface strong enough for the join? Is the base strong enough? Is the piece you plan to add going to pull on a thin or soft piece? Scoring and slip are helpful and should be the rule, not the exception. But, no seam will hold weak clay, and the pieces you attach must not weaken the piece. Clean, strong joins start with matching surfaces and careful work and a check that the base can carry the weight of the attached clay.